

*Today I have a very exciting post for you with a little giveaway included at the end, so make sure to keep reading!*
I have always been a little self conscious about my teeth. Even still it didn't stop me from smiling all the time. Being a blogger and being in front of the camera I have the sudden urge to smile but then I stop myself. Why? I wanted healthy teeth and if that meant giving up coffee and wine which stains my teeth then by all means let me cut back.
I have seen so many bloggers and youtubers using teeth whitening kits and I was so interested but I really wanted more information on it. Then I came across Smile Brilliant. Smile Brilliant showed me how to whiten my teeth and protect them at the same time and boy was I sold. I also asked questions and they were more than happy to answer them.
Smile Brilliant offers professional ' Teeth Whitening ' in the comfort of your own home at the fraction of the cost.
I will explain step by step how the process works and my reviews on it. Also if you lovelies are interested in checking out the website then click here.
Inside the kit you will find everything you need to whiten your teeth, including the paste that you need to mold and place them in the trays to ship it back. I thoroughly read the instructions and had my phone next to me because for the next couple of steps it will be needed.
Step 1
Brush and Floss to make sure everything is clean. Clean teeth is important for the perfect impression or somewhat perfect.
Step 2
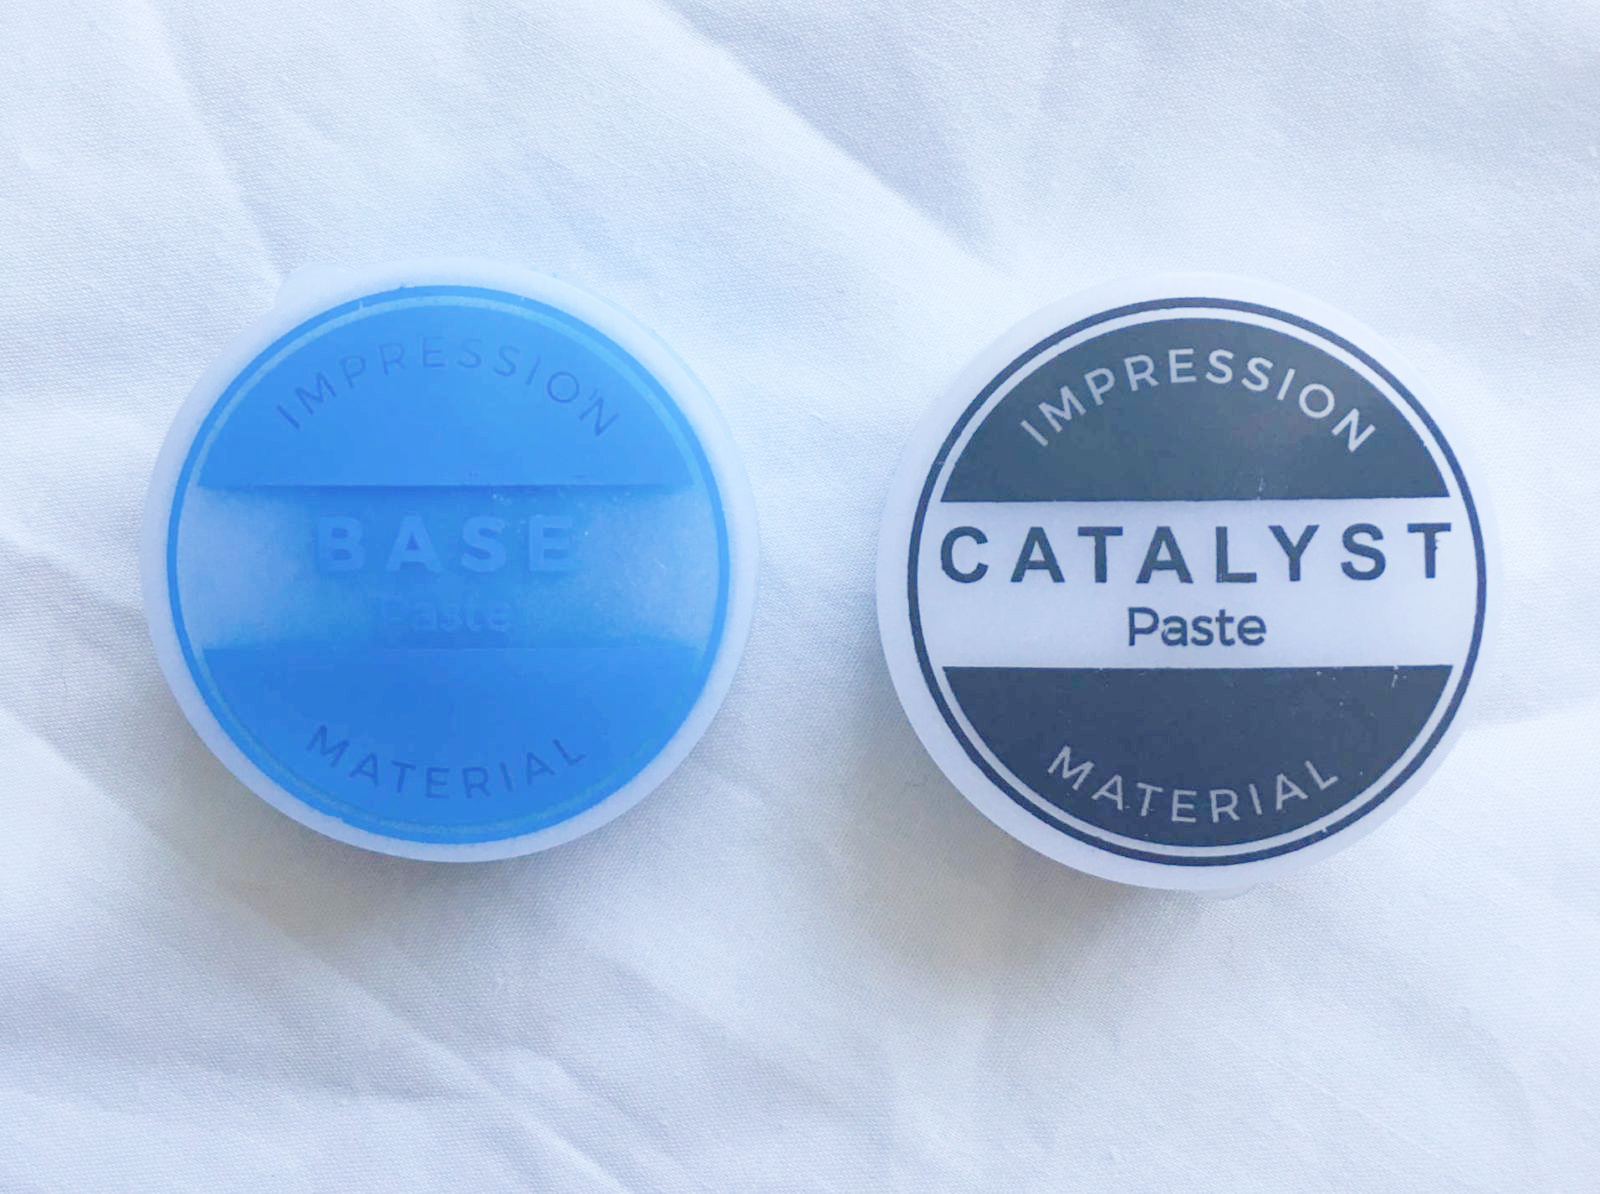
Mix Catalyst & Base Paste. This is where it gets fun. I was given 3 sets of impression material ( the catalyst paste & base paste ). You will only need to use 2 but just in case you mess one up you have a spare.
Remove 1 white paste ( catalyst ) and 1 blue paste ( blue ) from the container and mix thoroughly! Make sure that there are no white spots before placing it into the tray. DO NOT take awhile because the paste mixed together will harden before you even get a chance to sink your teeth into it.
Step 3
Place Mixed Paste into the Tray. Make sure you only make 1 tray at a time. Also I recommend a towel because you are going to be drooling with your mouth hanging open like that. Cause I know that I did.
Step 4
Make your first impression. Whether it be top or bottom you start with it doesn't matter. Use 3 fingers on all 3 points and press your teeth evenly. Press deep enough into the teeth that the material is flowing over onto the gums. I panicked a little when I did mine just because I wanted to make sure that I was doing mine correctly.
Do NOT Wiggle the impression
Do NOT bite down
Do Not Remove until the allotted time is up
I set my timer for 3 minutes!
Step 5
Do it all again. I did my top row first and then the bottom row after. When I finished with both. I left them in the tray for another 30 minutes so they can harden. Don't place them into shipping envelope until they completely hardened!
Step 6
Mail impression away!
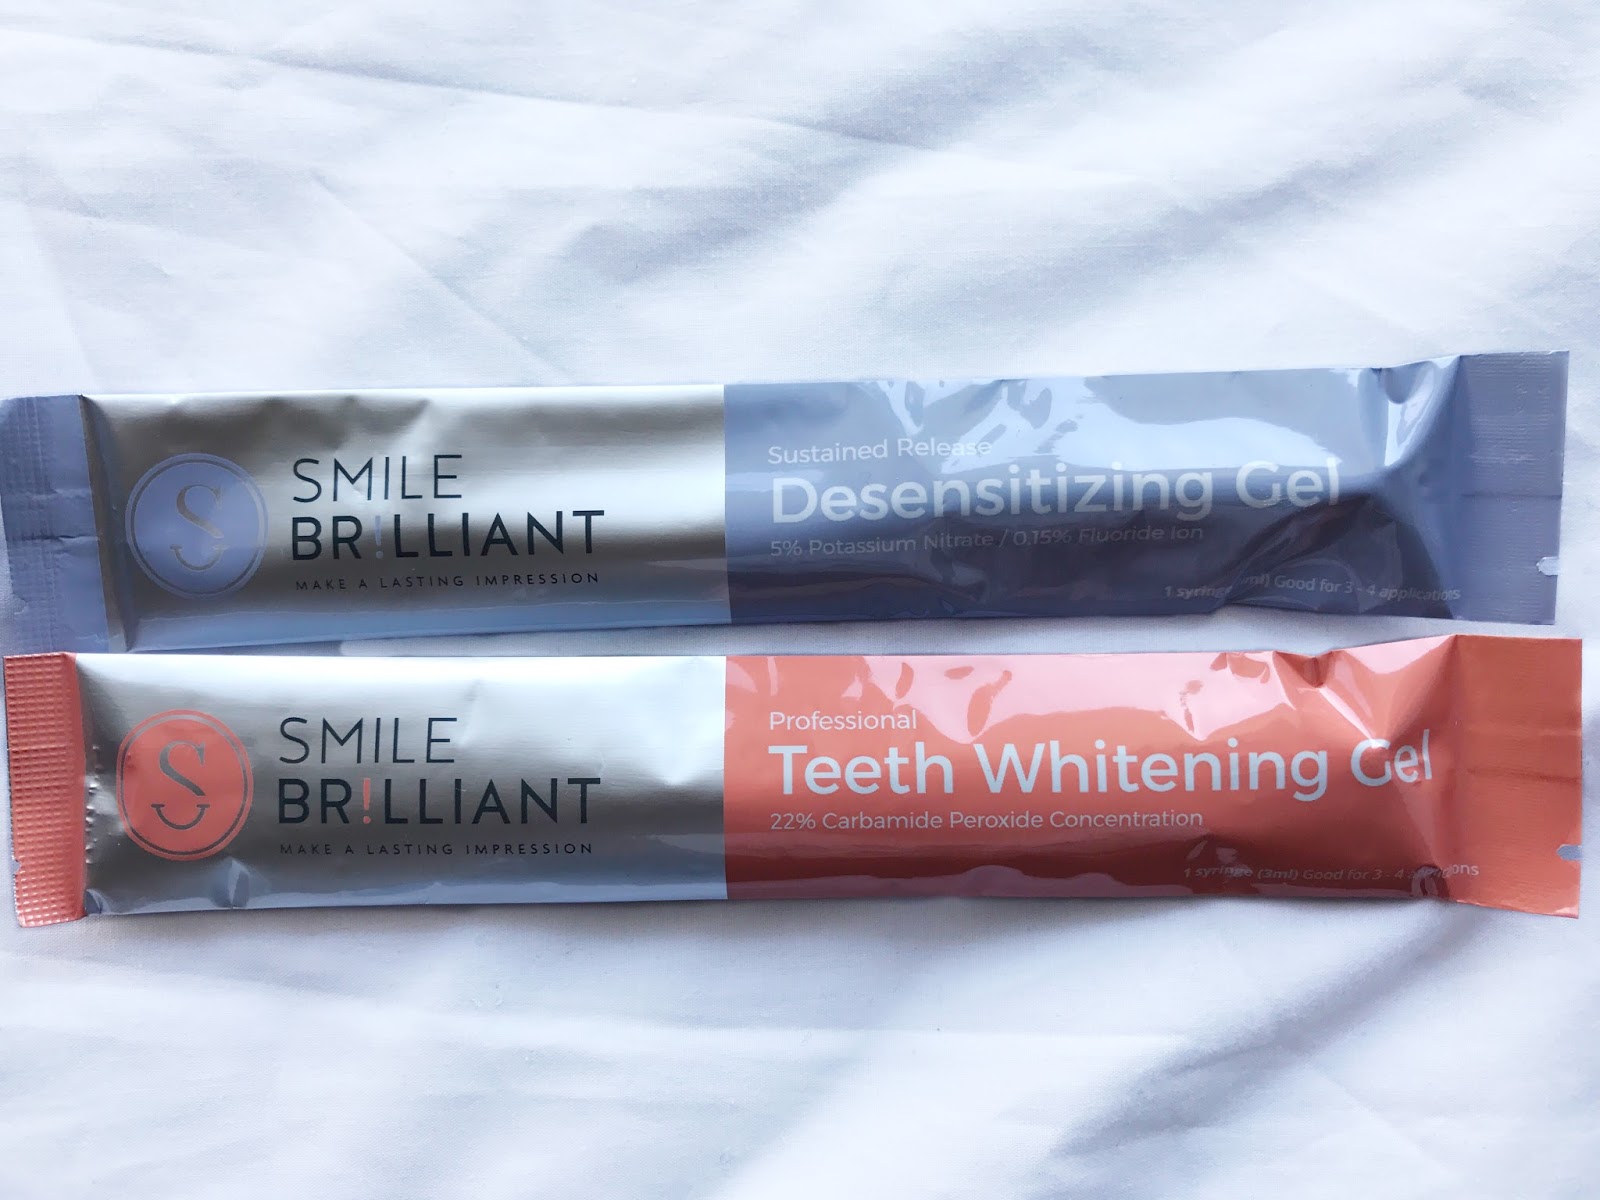
Pretty impressive, isn’t it? Now for the fun part! Folks at Smile Brilliant were kind enough to offer to giveaway $139.95 store credit to one of my lovely readers, which equals 1 set of custom teeth whitening trays, 3 whitening gel syringes and 3 desensitizing gel syringes (or, if you don’t have sensitive teeth, you can go with 6 whitening gel syringes). This giveaway is open to US residents BUT if you’re outside of US and still would like to enter, you can do so, but please note that you will be responsible for covering the cost of shipping your impressions back to Smile Brilliant. If you’re a US resident, you will be able to ship your impressions back to Smile Brilliant at no cost. To enter the giveaway click HERE. This giveaway will be open for two weeks, the winner will be notified via email. In addition, I have a coupon code for you guys: “thirteenthoughts” which will save you 5% off entire product list on Smile Brilliant. Feel free to ask me any questions down below!
*This post was created in collaboration with Smile Brilliant.
* Interested in knowing more information? Click here *


Post a Comment